Germinating organic gardening seeds can seem daunting, but it doesn’t have to be! With a few simple techniques, you can cultivate your own thriving garden. In this guide, we’ll explore some essential tips to help your seeds sprout successfully. Whether you’re a seasoned gardener or a beginner, these straightforward strategies will put you on the path to a flourishing organic garden.

1. Choosing the Right Seeds for Your Garden
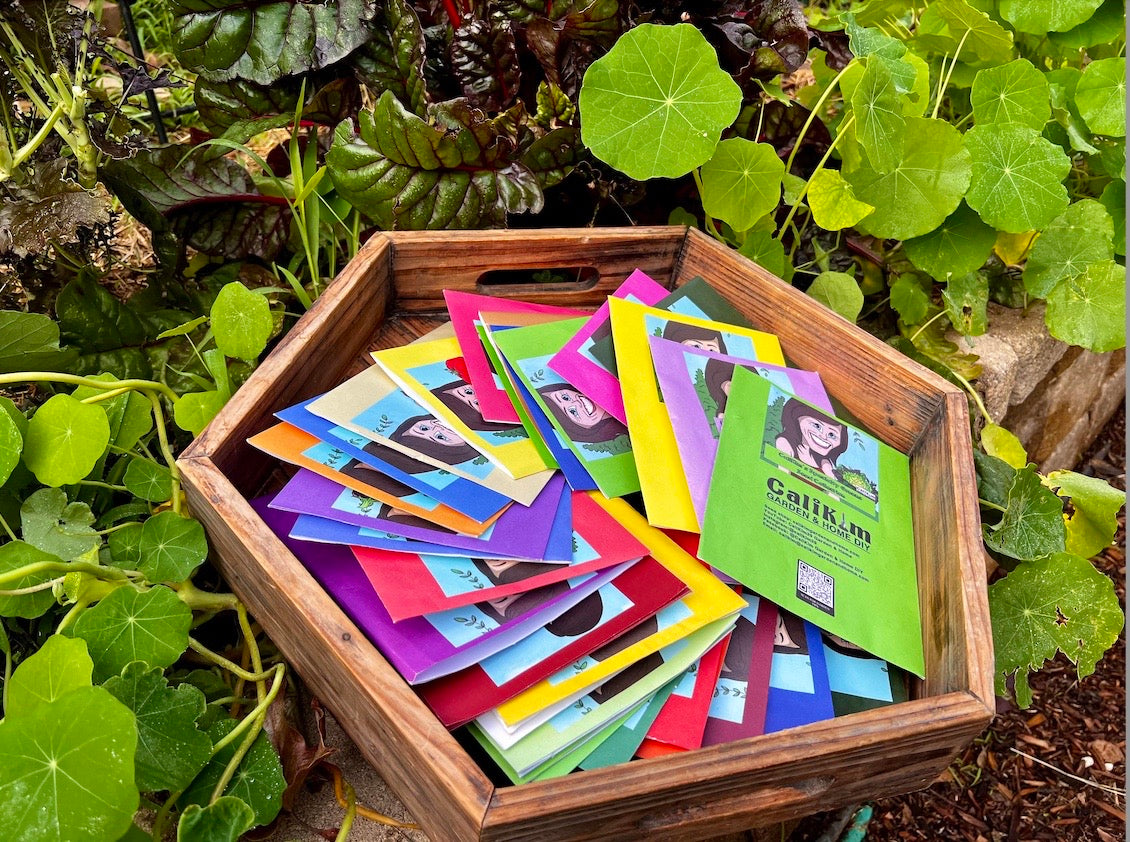
The first step in creating a successful garden lies in choosing the right seeds. When it comes to organic gardening seeds, look for varieties that are adapted to your local climate and soil conditions. Not only will this enhance your chances of successful germination, but it will also set the foundation for a resilient plant. Check our our CaliKim Seed Collections, handy seed kits organized by crop or growing season. Our Seed Collections are carefully curated to take the guesswork out of it and make it easy for you to get started.
Additionally, consider your gardening goals—are you aiming for a vegetable garden, flowers, or perhaps a combination? Aligning your seed choices with your culinary and aesthetic preferences will make your gardening experience more enjoyable. Keep in mind that organic seeds often come from heirloom varieties, which can yield robust flavors and vibrant colors. So, take some time to research and choose wisely!
2. Understanding Seed Germination Needs
Understanding what your seeds need to germinate is crucial. Seeds have specific requirements in terms of water, light, and temperature. For example, some seeds may require soaking before planting to help kick-start the germination process, while others prefer buried beneath the soil. Researching the specific germination needs of your chosen seeds can ensure they receive exactly what they need to sprout.
Additionally, pay attention to the temperature requirements. Most seeds thrive in warmer conditions, so it’s beneficial to use seed trays placed in a warm, bright location. However, excessive heat can negatively impact germination, leading to delicate seedlings that struggle to mature. Therefore, striking a balance is key to fostering a healthy beginning for your plants.
3. The Importance of Soil Quality
Soil quality substantially affects seed germination and plant growth. Investing in high-quality, organic potting mix or gardening soil will go a long way. Look for soil that retains moisture but also offers good drainage. Compost is another excellent addition that enriches the soil, providing essential nutrients for your emerging seedlings.
Moreover, testing your soil’s pH levels can provide insights into its health. Most seeds prefer a slightly acidic to neutral pH, hovering around 6.0 to 7.0. If the soil is too acidic or alkaline, it could hinder nutrient absorption, thereby affecting germination. So don’t skip on soil testing; it’s a small step that can yield significant results.
4. Proper Watering Techniques for Seedlings
Watering is perhaps one of the most critical aspects of successful seed germination. Seeds require just the right amount of water to break dormancy without oversaturating the soil. Overwatering may lead to mold growth, while underwatering can result in seed death. A common recommendation is to keep the soil damp but not soggy; think of it as a moist sponge.
Using a spray bottle or a gentle watering can with a narrow spout can help control the water flow, ensuring that you provide just enough moisture. As your seeds sprout and develop into seedlings, you can then transition to deeper watering, allowing the roots to grow strong and healthy.
5. Creating the Perfect Temperature Environment
Temperature plays a pivotal role in the germination of your organic gardening seeds. Ideally, you want to maintain a consistent warm temperature that aligns with the needs of your specific seeds. A good rule of thumb is that most seeds germinate best at temperatures between 65°F to 75°F. For optimal conditions, consider using heat mats for flat-style seed trays if your home is cool.
Moreover, avoid placing your seeds in drafty areas or near air conditioning vents, as temperature fluctuations can stress the plants. Keeping the seed trays covered with plastic can also help maintain warmth and moisture until the seeds make their initial appearance. Just remember to remove the cover once you see seedlings popping up, as they need adequate air circulation to thrive!
6. Utilizing Natural Light for Growth
Light is another essential element in the journey from seed to seedling. Although many believe that seeds can germinate in complete darkness, once they sprout, natural light becomes crucial for their growth and development. Positioning your trays near a south-facing window can provide ample sunlight; however, it might not be enough during the darker winter months.
In spaces where natural light is insufficient, consider investing in grow lights. These special artificial lights can mimic natural sunlight, offering specific wavelengths that enhance photosynthesis. Whichever light source you choose, aim for at least 12-16 hours of light exposure per day to help your seedlings flourish.
7. Transitioning Seedlings to the Outdoors
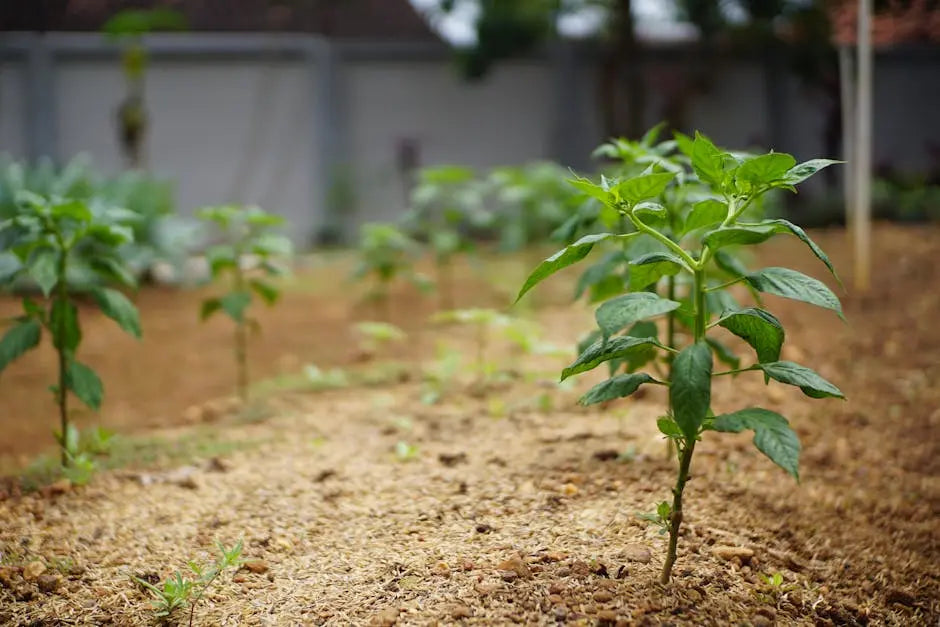
As your seedlings grow strong, it will come time to transition them to the outdoor environment! Remember, this process, known as hardening off, is essential to prepare the young plants for life outside. Start by placing them in a sheltered location for a few hours a day, gradually increasing their exposure to outdoor conditions over a week or two.
This step is vital to ensure that your seedlings are not shocked by the sudden changes in temperature, light, and wind. Additionally, keeping an eye on the weather forecasts is crucial; it’s best to delay outdoor planting if cold snaps or heavy winds are in the forecast. Your patience during this phase will pay off with healthier plants that can thrive in their new home.


